How to Sew the Drunkard's Path Quilt Block and Cushion Cover - FREE template
- Kimberley Hind
- Apr 20, 2023
- 2 min read
Updated: Jul 6, 2025

The Drunkard's Path is a classic quilting block that consists of two curved pieces that are joined together to form a square. The curves of the pieces are designed to create a meandering, slightly unpredictable pattern reminiscent of the wandering path of a 'drunkard'! The block can be created in a variety of colours and patterns, and is often used as a building block for larger quilting projects. The Drunkard's Path can be more challenging for beginner sewers due to the curved seams, but it becomes easier after a few practices! It is a popular and versatile block that can add a fun and dynamic element to any quilting project.
For this tutorial, we will create 16 squares to make a cushion cover using two contrasting colours, blush pink and burgundy. Create more blocks if you decide to make a quilt!
Download your FREE templates here -
Print the templates to 100% scale and cut out the shapes.
Cut 8 from template one (the corner shape) in pink and 8 in burgundy.
Cut 8 from template 2 (the quarter circle) in pink and 8 in burgundy.
Use 1'4" seam allowance throughout.

Use one of each colour to create the sqaure.
3. Find the centre of the curve of the quarter circle and the centre of the curve of the corner shape by folding in half and creasing. Place the two right sides together, lining up the centre marks.

4. Pin the centre point and line up the raw edges, easing the corner shape to match the curve of the quarter circle. Use plenty of pins!

5. Sew in place using 1/4" seam allowance. Snip into the seam allowance along the curve. This will help the seam to sit flat when pressing.

6. Open and press.

7. Repeat with the rest of the pieces.

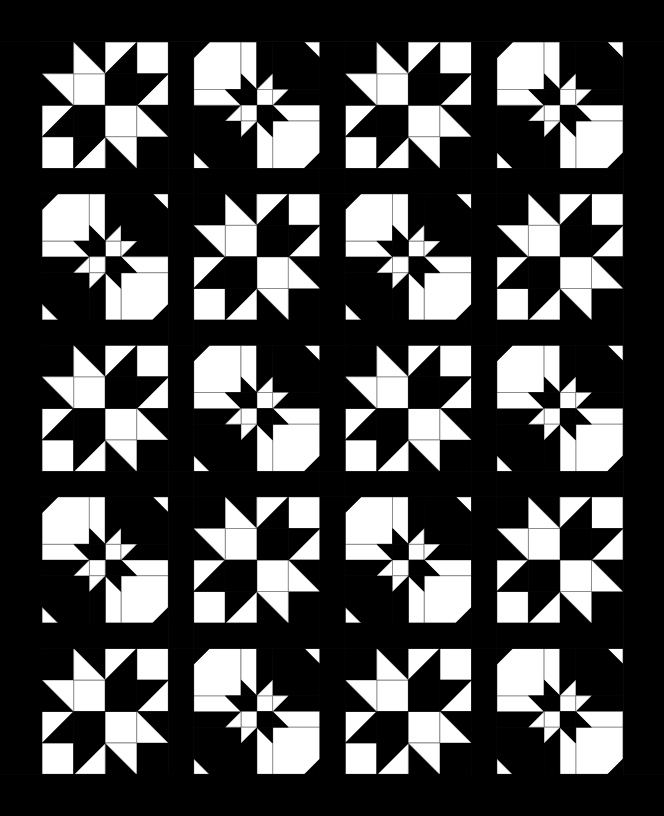
8. Now you can decide on the layout of the sqaures and what design you'd like to use! There's lots of different ways to arrange the sqaures, here's a few ideas -

9. Once you've arranged the sqaures how you'd like, sew the sqaures together in rows of 4 and press.
TIP - Make sure the sides of the circle shapes are lined up as you sew the rows together, this will make them look neat!

10. Sew the rows together and press.

11. If you'd like to quilt the cushion cover, adhere wadding to the back first. I've used Vliesiline H630 and quilted around the semi circles and circles using matching coloured thread.

12. To create an evelope back, cut 2 pieces of fabric measuring the width of the cushion front by half of the length + 4". My cushion front is 20" sqaure so my backing pieces will measure 20 x 14".

13. Hem one long side of each backing piece of fabric by folding over by 1/4" and then 1/4" again and sewing in place.

14. Place the backing pieces of fabric over the right side of the cushion front, making sure the two hemmed sides are overlapping facing towards the centre. Sew around all 4 sides. Snip off the corner points within the seam allowance.

15. Turn right side out and insert your cushion pad to finish!


Comments