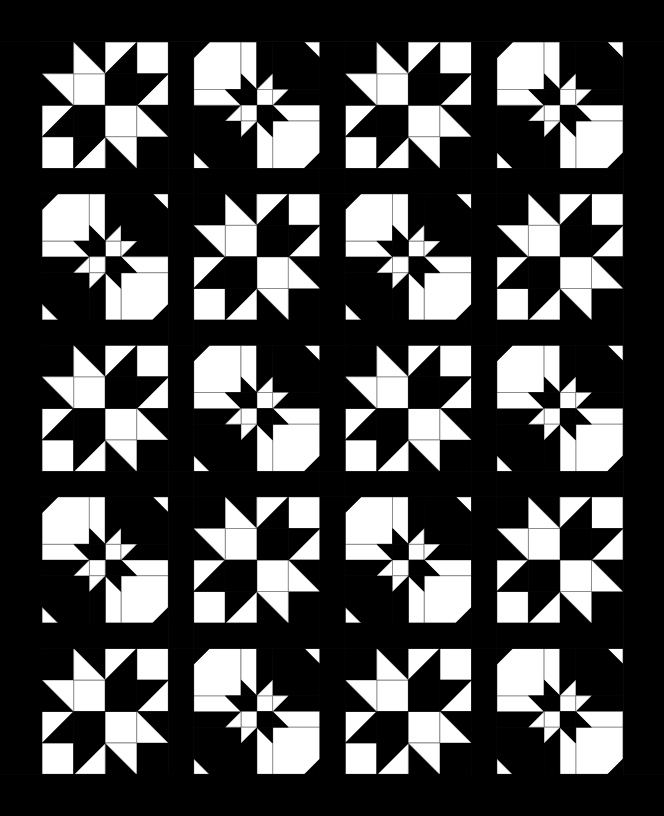
Kaleidoscope Cushion Cover Tutorial
- Kimberley Hind
- Apr 24, 2021
- 2 min read

What you’ll need for a 13” square cushion–
13” square Cushion pad
2 fat quarters of contrasting fabric (you might have some left over!)
Two pieces of backing fabric measuring 13.5” x 9”
use 1/4" seam allowance throughout
Tools used –
Rotary cutter and cutting mat
4.5" x 4.5" quilting square ruler -
Tropical boho fat quarter pack -
Pompom trim -
How to make –
1. Use the ruler to cut the squares. I’ve cut 21 in total from 2 contrasting fabrics.

2. Start sewing the squares into strips, alternating the fabrics.
Sew 2 squares right sides together. Open and press. Sew the third square to the second in the same way and continue until you have 5 squares sewn.


3. Continue sewing in strips until you have three strips of 5 squares and two trips of 3 squares.
4. Sew all of the strips right sides together with the strips of 3 at each end. This is now the panel.

5. Rotate the panel 45 degrees so that the squares become diamonds. Cut this to the size of your cushion. This is now the front of the cushion cover. (remember to add the seam allowance)

6. To make the envelope back, hem the bottom of one piece of backing fabric and the top of the other.
To hem, fold the fabric back by ¼” and press. Fold again by ¼” and press. Sew in place.

7. Place the two backing pieces right sides together on the cushion cover panel. The two hemmed edges should overlap in the centre.
8. Sew around the entire edge of the cushion. Cut the corners off the cushion, making sure you don’t snip through the stitches you’ve just made.

9. Turn the cushion cover right side and insert the cushion pad!

You can use any left-over fabric to make coordinating cushions. I’ve also sewn pompoms to the corners.


Love the new kaleidoscope cushions. Think I’ll update my bedroom. It might just be me, but I keep getting kicked out of your website and asks me to sign in again. Thank you for the pattern!
Nancy