How to sew a disappearing 9 patch quilt block
- Feb 19
- 3 min read
Updated: Apr 24

How to Sew a Disappearing 9 Patch Quilt Block
The disappearing 9 patch is one of those quilt blocks that feels a bit like magic. You sew a simple 9 patch, make two straight cuts… and suddenly it turns into something that looks far more intricate than it actually is.
For this tutorial, I’m using 5” squares (because they’re easy to work with and great for scraps), but I’ve included alternative sizes below so you can scale it up or down depending on your project.
It’s beginner-friendly, satisfying to sew, and perfect for quilts, cushions, table runners or even patchwork bags.

What You’ll Need
9 fabric squares (I’m using 5” x 5”)
Sewing machine
Thread
Rotary cutter and ruler
Cutting mat
Iron
Finished Block Sizes
Here’s a quick guide to help you plan:
Starting Square Size | Finished 9 Patch (before cutting) | Finished Disappearing 9 Patch Size |
3” squares | approx. 8” | approx. 7.5” |
4” squares | approx. 11” | approx. 10.5” |
5” squares | approx. 14” | approx. 13.5” |
6” squares | approx. 17” | approx. 16.5” |
(Measurements are approximate unfinished sizes and assume a ¼” seam allowance.)
If you’re using pre-cut 5” charm squares, your finished block will be roughly 13.5” square, which makes this a really efficient way to build a quilt top quickly.
Note: Finished block size refers to the block measurement on its own - before sewing it into a quilt top, adding sashing, borders, or quilting. Also referred to as a 'unfished' size.
Additional note: Sizes are approximate. If your seam allowance is slightly over or under ¼”, it isn’t a problem - accuracy matters most when sewing multiple blocks. As long as all of your blocks finish at the same size, they will join together neatly in your quilt top.
Step-by-Step: Disappearing 9 Patch Block
1. Arrange Your 9 Squares
Lay out your 9 squares in a 3 x 3 grid.
Tip: Place a contrasting square in the centre - this helps the “disappearing” effect stand out more once cut.

2. Sew Rows Together
Sew the squares together into rows of three using a ¼” seam allowance.
Press the seams in alternating directions (row 1 to the right, row 2 to the left, row 3 to the right). This helps your seams nest neatly.

3. Join the Rows
Sew the three rows together to create one large 9 patch block.
Press flat. You should now have one complete 9 patch.
With 5” squares, this will measure approximately 14” square unfinished.
4. Make the “Disappearing” Cuts
Using a ruler and rotary cutter:
Cut vertically through the exact centre of the block
Cut horizontally through the exact centre
You should now have four equal sections.

5. Rearrange the Pieces
Keep the block laid out in its four sections and rotate the top left section (1st square) 180 degrees. Then rotate the bottom right section (forth square) 180 degrees as well.
Leave the other two sections as they are.
Once repositioned, you’ll see the centre squares shift into new positions, creating that classic disappearing 9 patch effect with a lovely sense of movement across the block.

6. Sew Back Together
Sew the two top sections together. Sew the two bottom sections together. Then sew those two rows together to complete the block.
Press well.
And that’s your disappearing 9 patch finished.

Layout Ideas
One block makes a large statement on its own, but this pattern really shines when repeated.
You can:
Alternate light and dark centres
Rotate each block differently for movement
Keep everything consistent for a more modern grid look
A simple 3 x 3 layout of 13.5” blocks (made from 5” squares) gives you a quilt top roughly 38.5” x 38.5” before adding sashing or borders.
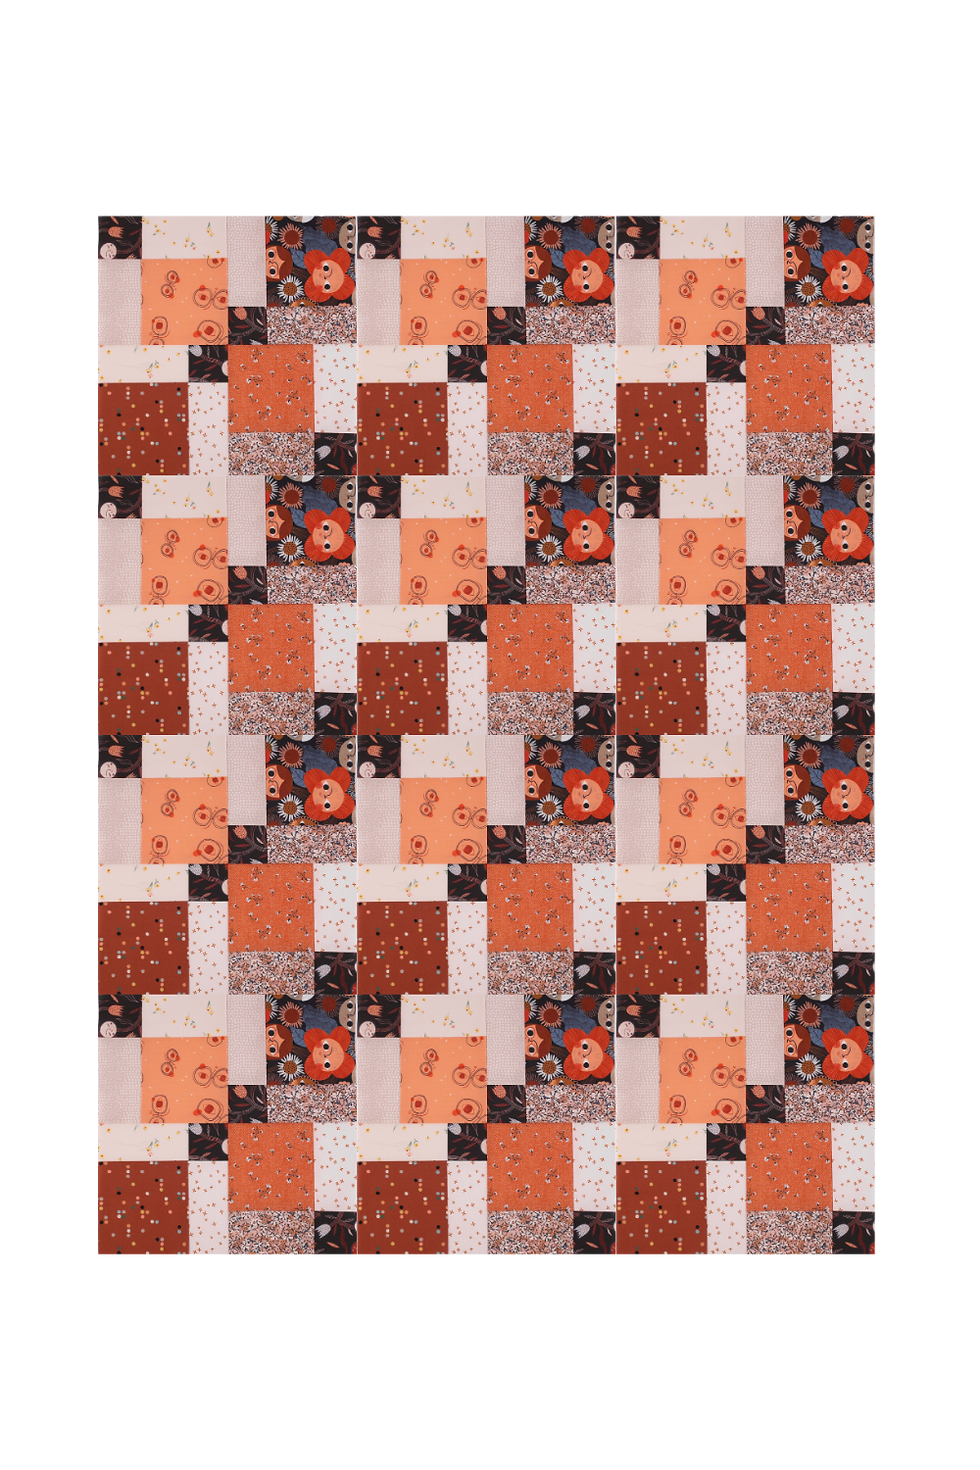
Add a border and you’ve got a lovely quilt without sewing hundreds of tiny pieces.
The disappearing 9 patch is one of those blocks I come back to again and again. It’s structured but playful, tidy but still scrappy-friendly - and it works beautifully with fabric you already have.
If you try this one, I’d love to see your version! It’s a good reminder that sometimes the simplest blocks create the most satisfying results.
Happy sewing! Kym


Comments