How to Sew a Disappearing Hourglass Quilt Block: Step-by-Step Tutorial for Beginners
- Kimberley Hind
- Oct 3, 2024
- 3 min read
If you've ever wanted to create something that looks intricate but is surprisingly simple to make, the disappearing hourglass quilt block is perfect! This block looks like it took hours of careful planning, but with just a few cuts and some clever rearranging, you’ll be well on your way to mastering this beautiful pattern.

In this sewing tutorial, the block that I've made uses 2 printed fabrics from the 'Autumn Walk' collection from Cloud 9 Fabrics. The fun mix of woodland-themed prints and bold pink adds a playful yet cosy vibe.

To make one block, you only need two 10" squares from two different fabrics. You could use it as the front of a bag or cushion cover by adding a border. Or, if you're feeling ambitious, make more blocks to create a larger project like a quilt!
You will also need:
Rotary cutter and cutting mat
Ruler - Preferably a 6.5" quilting ruler but any large ruler will work too.
Iron and ironing mat
Use a 1/4" seam allowance throughout.
Let's get started!
Sewing instructions:
Place the two 10" squares with right sides together. Sew around all 4 sides.

Cut diagonal lines from one point to the opposite in both directions.

Open and press the seam towards the darker fabric. This will give you 4 half square triangles.

Trim the edges so that each square measures 6.5" (this is where a 6.5" ruler comes in handy.)
-To trim down a half square triangle (HST), place your square ruler over the fabric and line up the 45° diagonal line on the ruler with the seam that runs diagonally through the HST.
-Ensure the ruler is positioned so that the edges of the HST extend past the size you want to trim it to. The size should be measured by the intersection of the horizontal and vertical lines on the ruler that represent your target size.
-Using your rotary cutter, trim the right and top edges of the HST. (If you're left-handed, trim the left and top edges.)
-Rotate the HST 180° and line up the newly cut edges with the desired size marks on the ruler. Ensure the 45° line is still aligned with the seam.
-Trim the remaining sides to get a perfectly squared HST.

Arrange the HSTs in an hourglass shape.

Sew the top 2 HSTs with right sides together, then repeat with the bottom 2. Sew the two strips together, making sure to line up the centre seams. Press the seams flat.

Cut vertical lines 2" from the centre of the block on each side. To do this, line up your ruler 2" from the central line and cut, then switch to the other side. Repeat horizontally. This will give you 9 smaller squares.

rotate each individual square 180 degrees, leaving the centre square as is. This will give you a fun star design that looks like this -

Sew the 3 rows together, making sure to line up joining seams for a neat finish. Press the seams flat. as you go.

And that's the block finished! Here I've made 3 more blocks that can then be used on a large cushion cover -

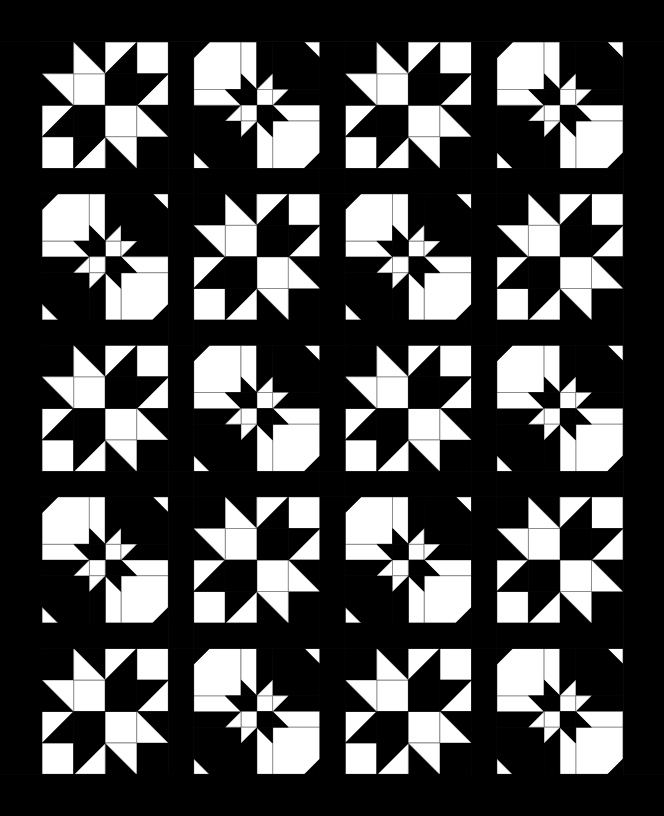
Or continue to make the blocks for a bigger design -

It's amazing how a few simple cuts and flipping of squares can create such a complex-looking design. The best part is that you can really play around with your fabric choices and layouts to create something uniquely yours. Whether you go bold and bright or stick with soft, subtle tones, the possibilities are endless.
So grab your favourite fabrics and get experimenting! Happy sewing, and I can't wait to see what you create!


love it!!!!!