How to sew a Cathedral Window Quilt Block into a Cushion Cover
- Kimberley Hind
- Nov 8, 2022
- 3 min read
Updated: Jul 6, 2025

Create a gorgeous cushion cover using a quilting block that is suitably called a cathedral window. This tutorial will show you how to sew the quilting block into a cushion cover, but this technique can be used to make quilts and even bags. For this cushion, I’ve used the Mosaic Essentials Trend 5 fat quarter pack in the colour Teal from The Craft Cotton Company with a plain white cotton. It is best to use contrasting fabric to get the full effect of this patchwork design if you are using your own fabrics.
What you’ll need:
21 x 5” blue squares of fabric. I’ve used a fat quarter pack, so I have 4 of four of the designs and 5 of the other.
20 x 5” white squares of fabric
18” x 21” backing fabric
20” Zip
18” Cushion pad
Pins
Iron
Finished size: 18” square
use a ¼” seam allowance unless stated otherwise
1. Fold 4 white squares in half diagonally with wrong sides together and press.

2. Arrange 4 patterned squares in two rows of 2. Place the plain triangles over the inside corners of each patterned square with raw edges lined.

3. Sew the top two squares right sides together with the two white triangles sandwiched in the middle. Press the seams OPEN. Repeat with the bottom two squares.

4. Sew these two strips right sides together and press the seam open.

5. Place the final blue square centrally over the white triangles. Fold the edges of the white square over the raw edges of the central blue square and pin in place. Make sure to slightly stretch the white fabric over the blue enough to cover the raw edges of the square.

6. Sew in place as close to the edge of the white fold as possible.

7. Repeat these steps three more times with the other squares to create 4 ‘window’ blocks.

8. Arrange the window blocks into one large square. Press the final 4 white squares into triangles and place them in the centre of the square, lining up raw edges as before.

9. Sew the top two blocks right sides together then the bottom two. Press the seams open.

10. Sew the two strips right sides together and press the seams open. Lay the final blue square over the centre of the white triangles.

11. Repeat steps 5 and 6 with the centre of the block.

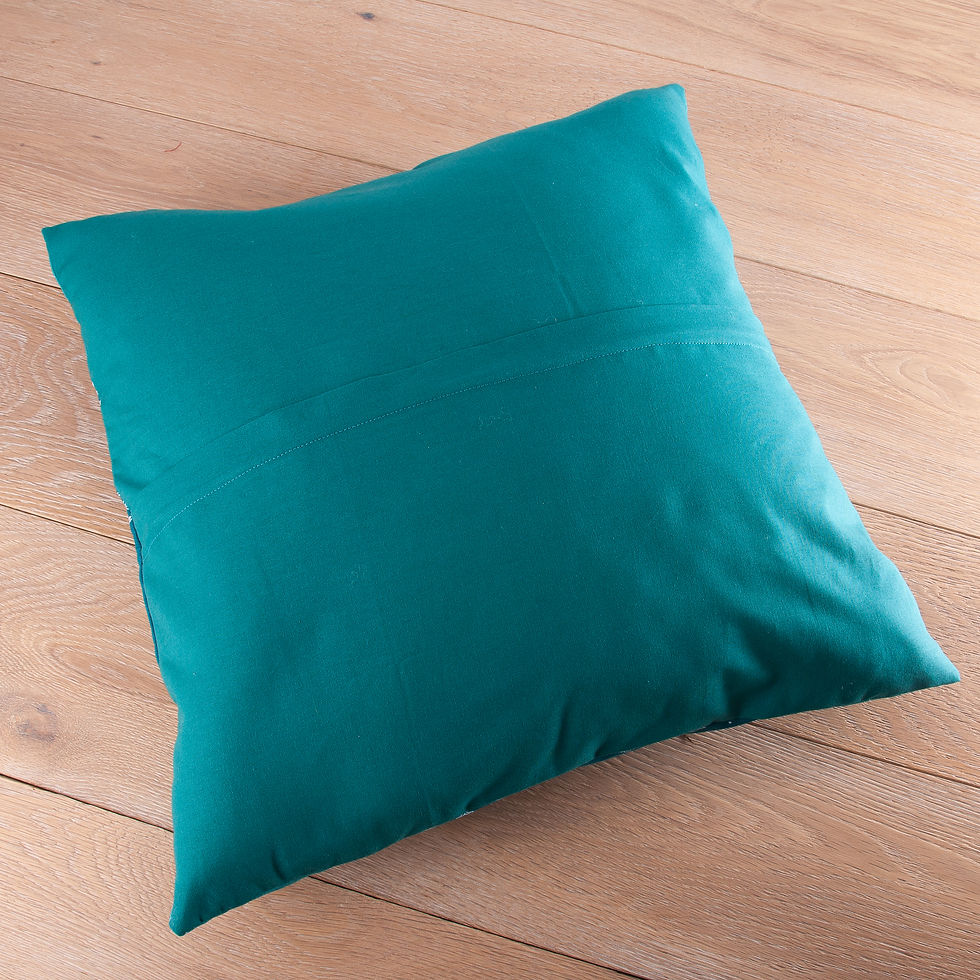
12. To make the back of the cushion, cut the backing fabric in half widthways. Sew the zip in between the two pieces and top stitch along the bottom side of the zip.

13. Fold the top piece of fabric over the zip, just enough to cover it and press. Sew in place hiding the zip in the stitches.

14. With the zip open, trim away the ends. Hand sew the open end closed. Place right sides together to the cushion front and pin in place. Sew around all four sides and then trim the backing fabric to the same size as the cushion front.

15. Snip the corners (careful not to cut through and stitches) and turn the cushion cover right side out. Insert the cushion pad and you’re done!

How it looks from the back -


Happy sewing!
Kym x
(Fabric commissioned for this project)
Do you have instagram? Follow me @whatkimberleymakes for more of my day to day sewing and 'behind the scenes' content. There is a short tutorial on my page making this cathedral window quilting block if you prefer to see it come together that way, here is the link -
You can also find more in depth sewing projects on my YouTube channel


Love your Cathedral Window Quilt Block into a Cushion Cover! Thank you for sharing!
For years I was intimidated to make the cathedrals square then I tried your directions. Thankyou for such easy to follow directions and I love it!