How to sew a 3D Folded Circle Petal Placemat - Free Sewing Pattern
- Aug 5, 2025
- 4 min read
Folded Circle Sewing Project
This is such a fun little project to sew - it starts with simple fabric circles, and with a few folds and stitches, they turn into something that looks like petals.
I’ve used fabrics from my Botanical Garden collection for this one, but it would work beautifully with scraps too; anything with a bit of contrast will help the petal shapes stand out.
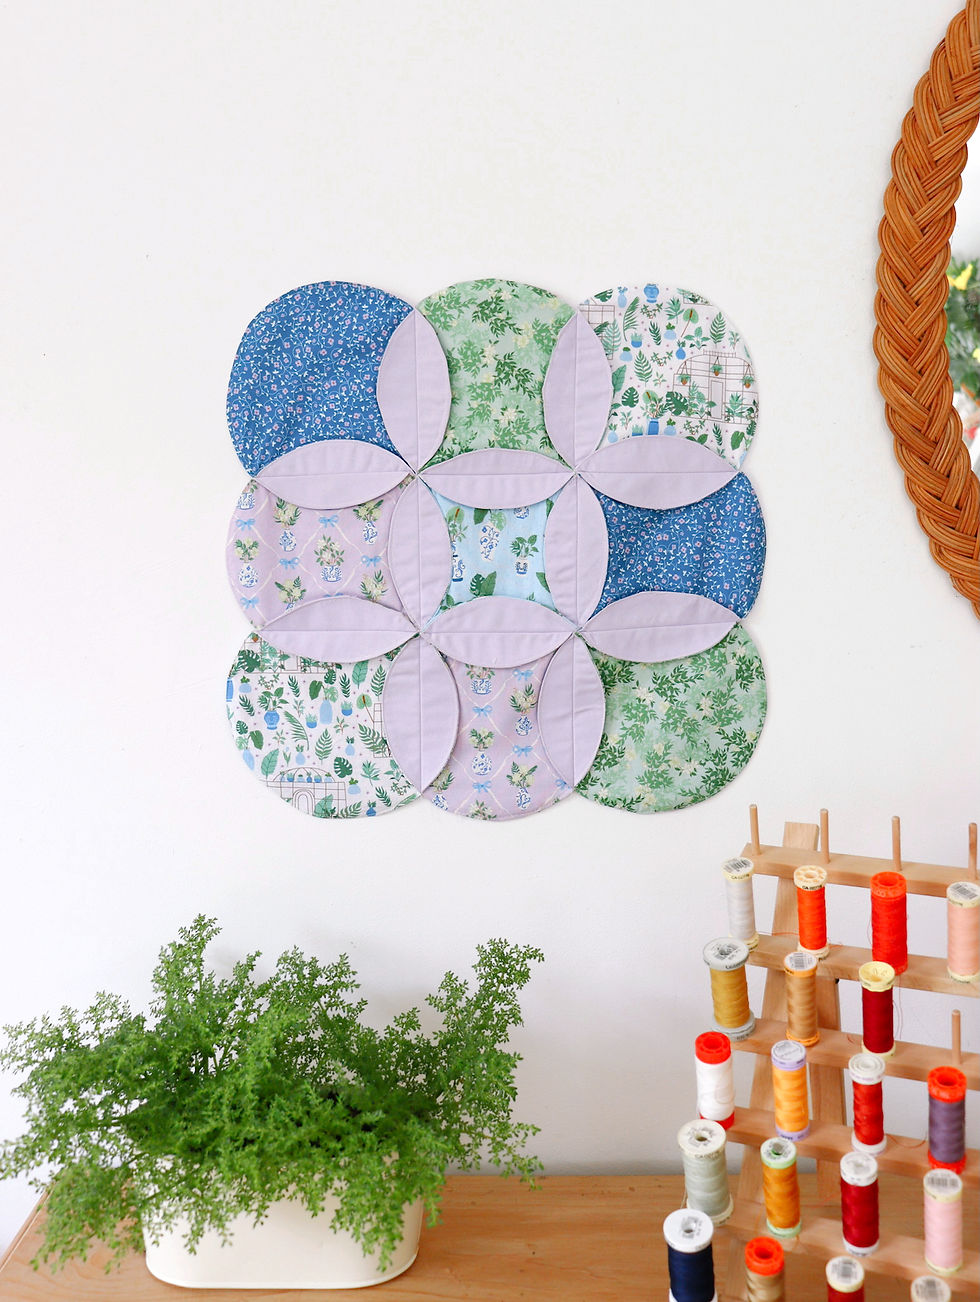
You can make it as big or small as you like. I stitched mine into a wall hanging, but it would look just as nice as a placemat or as a table centre. It’s one of those makes that looks fancy but is actually really easy to put together, and very satisfying to sew!
You Will Need:
7" Circle Template (you can draw around a bowl or use the downloadable template below)
4.375" (4 3/8) Square Template (for folding guides) template below
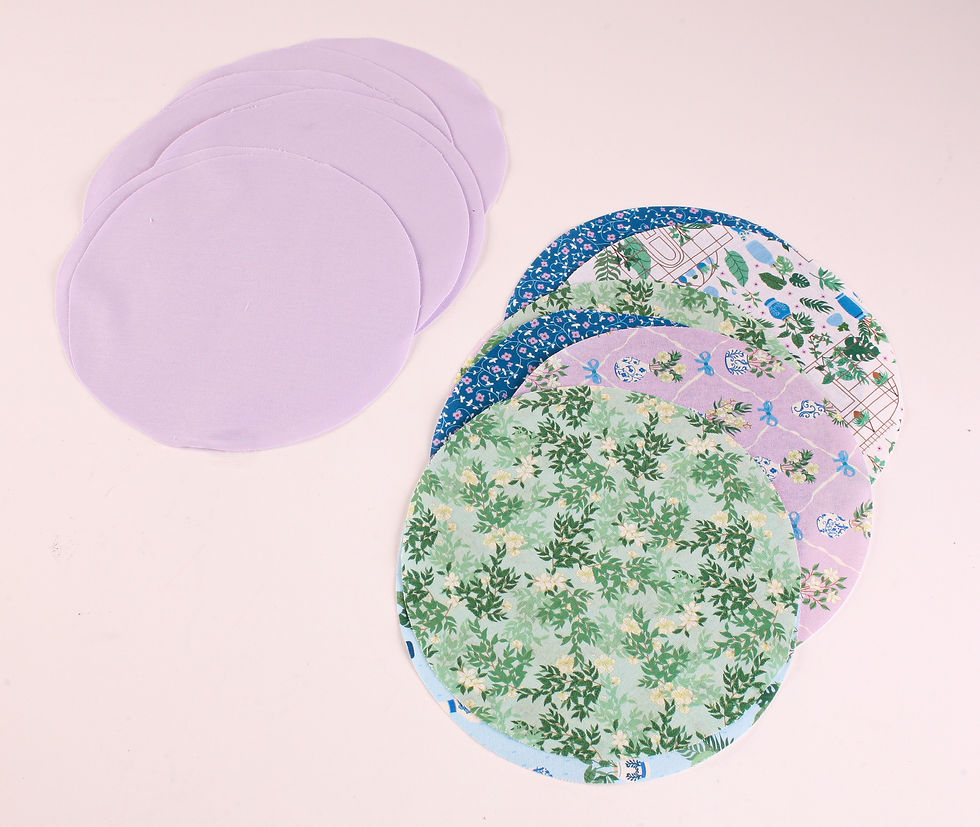
9 Outer Fabric Circles – choose prints you love or mix in some scraps
9 Lining Fabric Circles – something plain or contrasting works well
Basic sewing kit – pins, thread, scissors, sewing machine
Pinking Shears (if you have them)
You’ll be making 9 double-sided circles, so you’ll need 9 pieces each of outer and lining fabric, cut into 7" circles. The square template is used as a guide for folding the petal shapes.
Free Template
Download the templates for this project here -
Make sure to print the templates at 100% scale on A4 paper – no scaling or "fit to page."
Cut out the circle and square templates and you're ready to go!
Take one outer fabric circle and one lining fabric circle and place them right sides together. Pin in place. Sew all the way around using a ¼" seam allowance, but leave a small gap for turning.
Tip: A smaller turning gap will give you a neater, more rounded edge.

Use pinking shears to trim around the edge – this helps reduce bulk and makes the circle sit nicely.
If you don’t have pinking shears, carefully snip small notches into the seam allowance all the way around (being careful not to cut through the stitches).

Turn the circle right side out through the gap.
Use a blunt tool (like a knitting needle or chopstick) to gently push out the edges so the shape is nice and smooth.
Give it a good press with the iron.

Topstitch around the edge of the circle. This closes the turning gap and gives it a nice, finished look.
Repeat steps 1-4 with all of your remaining fabric circles until you have 9 finished circles, each with an outer and lining fabric, turned right side out and topstitched.
Take your square template and place it in the centre of one of your finished fabric circles. Make sure the corners of the square sit just inside the edge of the circle – they shouldn’t overhang.
Lightly mark around the square using a fabric pen or chalk. These lines will be your fold guides to create the petal shape.

Repeat the same process with all 9 circles, marking the square in the centre of each one.
Take your time to keep them neat. These guides will help with accurate folding later on.
Lay out your circles in a design you like. A simple and effective layout is three rows of three. Space out any similar prints or colours.
Once you're happy with the arrangement, start with the top row.
Take your first two circles and place them right sides up. Match up one edge of each circle, aligning the corners of the drawn squares (as shown in the photo). Pin in place.
You're lining up the square corners, not the outer edges of the circles – the petals will form from those folded lines later on.
Sew along the marked line where the two squares meet.

Add the third circle to complete your first row of three.
Just like before, line up the square corners of each new circle with the previous one, right sides up. Pin in place and sew along the marked square line to attach them.
You should now have a row of three joined circles.

Repeat the same process to sew the second and third rows.
Each row should have three circles, joined by sewing along the lines of the squares, just like you did with the first row.

Take your first two rows and place them one above the other, keeping right sides up. Line up the square corners where the circles meet horizontally (just like you did in the rows). Pin or clip in place.
Sew along the horizontal line of the drawn squares where the circles overlap. Make sure not to sew over the 'petal' parts of the circles where possible because they won't sit flat when they are pressed later if they are sewn.

Repeat the same process to join the third row underneath.
You should now have a 3x3 grid of circles, all joined together at the square lines.

Press the 'petals' open to finish! You can sew the folded edges down with a topstitch if you want a more secure, quilted finish – or leave them loose for a soft, 3D look.

That’s it! A simple project with such a pretty finish – perfect for using up fabric you love. I hope you have fun and get creative with your folded petals!
Happy stitching! ✂️🌸


Comments