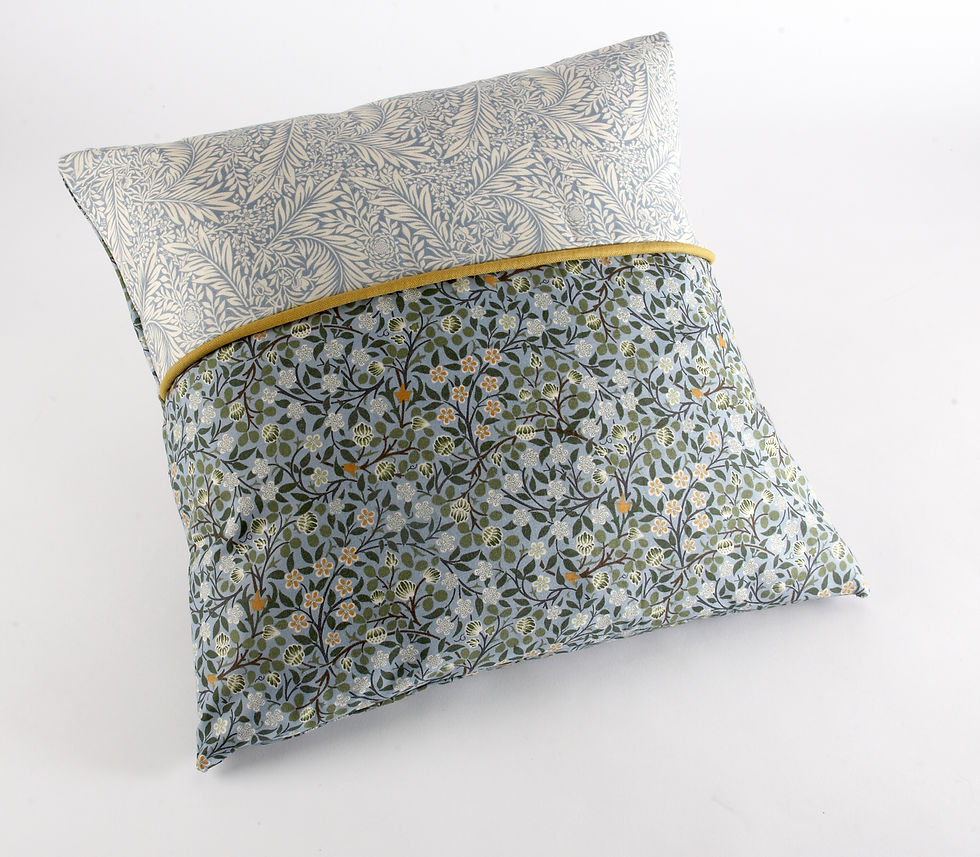
William Morris - Simple Two-Toned Piped Cushion Cover Tutorial
- Nov 24, 2020
- 2 min read

An easy to make cushion cover that shows off your favorite fabric designs with piping to match. This cushion is a simple way to decorate any living space!
The Craft Cotton Company have teamed up with The V&A Museum for their second 5-piece collection to celebrate one of the most famous names in the V&A collection, William Morris. The William Morris collection encompasses beautifully intricate and original patterns from the V&A's archive with exceptional quality cotton.
See more about William Morris and his designs here
What you'll need for a 16" cushion:
- 1 front piece of fabric measuring 16x7" (top)
- 1 front piece of fabric measuring 16x9" (bottom)
- fabric of choice for piping measuring 18" x 1.5"
- 1/4" piping cord measuring 18"
- 2 piece of backing fabric measuring 16x11"
- zipper foot on your machine
Make your piping by pressing the strip of fabric in half width ways. Place the piping cord inside the fabric strip against the fold and sew. Use a zipper foot to get close to the cord when sewing.

2. With the zipper foot still attached to your machine, sew your bottom outer piece of fabric right sides together with the piping. Get as close and you possibly can to the piping.

3. Sew the top piece to the other side of the piping right sides together in the same way. Trim the excess piping.

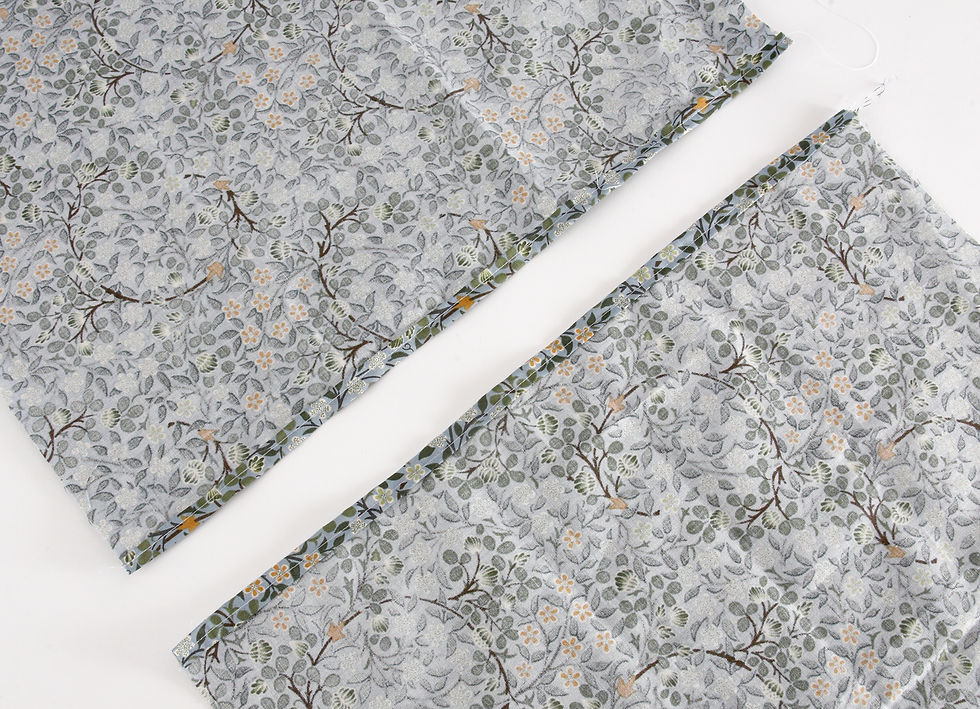
4. Hem the top of one backing piece of fabric and the bottom of another.
5. Place the 2 backing pieces right sides together on the front of your cushion. Make sure the hemmed edges are overlapping towards the centre of your cushion. Pin in place.

6. Sew around the entire edge of the cushion.
7. Turn right side out and put the cushion pad inside!


Comments