How to Sew a Log Cabin Quilt Block Using 2.5” Strips
Updated: Sep 2
How to Sew a Log Cabin Quilt Block Using 2.5” Strips

The log cabin is such a useful quilt block to know, especially if you have a pile of 2.5” strips waiting to be used.
It starts with one small square in the centre, then grows a little with every strip you add. There’s no complicated piecing involved, just sew, press, rotate and repeat.
For this version, I’m using 2.5” wide strips throughout. The completed block measures 14.5” square, making it a lovely big block for quilts, cushions and other patchwork projects.
You can plan your colours, use light and dark fabrics on opposite sides for a traditional log cabin look, or simply pull strips from your scrap pile as you go.
You will need
Assorted 2.5” wide fabric strips
Sewing machine
Thread
Rotary cutter
Cutting mat
Quilting ruler
Iron
Use a ¼” seam allowance throughout.
Strip lengths
You will need strips measuring:
2.5” square
2.5” square
4.5”
4.5”
6.5”
6.5”
8.5”
8.5”
10.5”
10.5”
12.5”
12.5”
14.5”
You can cut all of these before you begin, or sew from longer 2.5” strips and trim each one level with the block as you go.
How to sew the log cabin quilt block
1. Add the first 2.5” strip
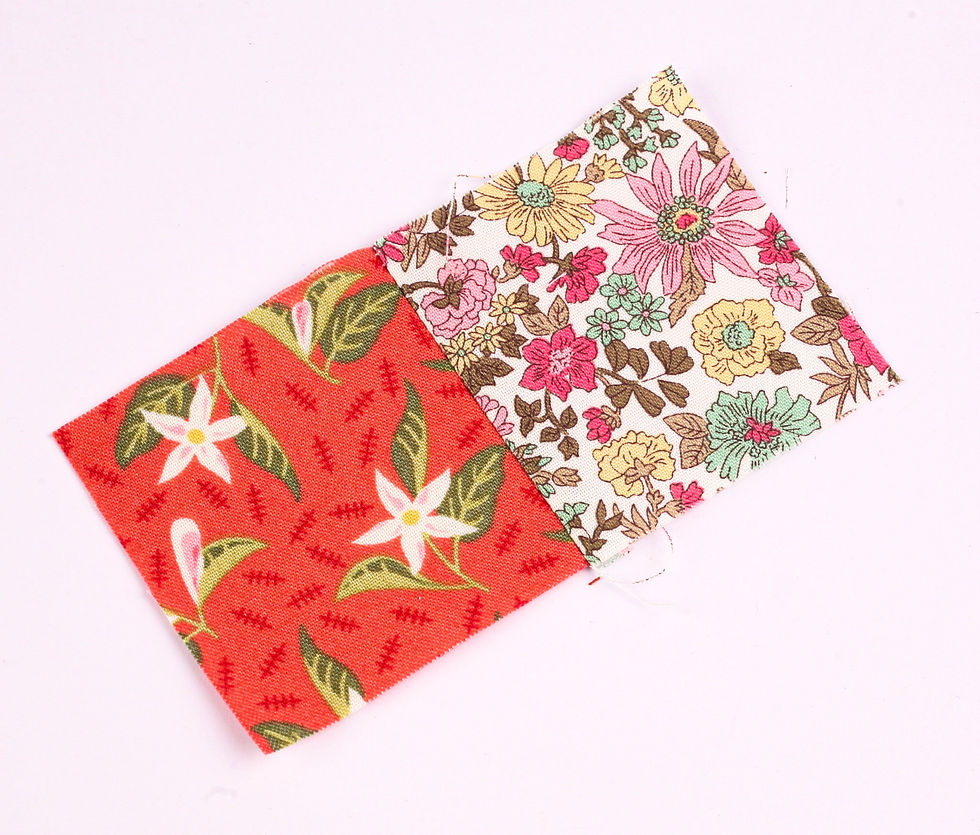
Start with your 2.5” centre square.
Place a second 2.5” square right sides together along one edge of the square. Sew with a ¼” seam allowance, then press the strip away from the centre.
2. Add the first 4.5” strip
Sew a 4.5” strip along the bottom edge. Press it away from the centre.
You’ll start to see the little log cabin shape forming now.

3. Add the second 4.5” strip
Add another 4.5” strip to the next side.
Sew and press away from the centre again.

4. Add the first 6.5” strip
Place a 6.5” strip along the top of the block.
You'll start to see we are working in the clockwise direction!
Sew and press away from the centre.

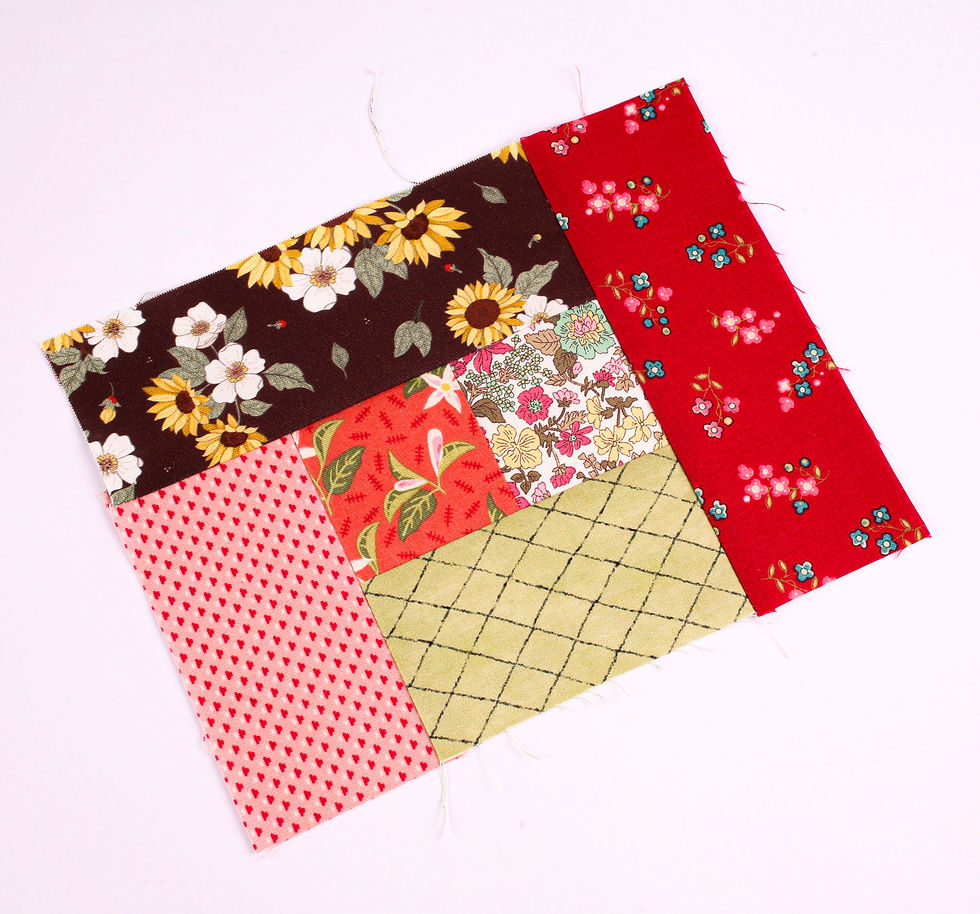
5. Add the second 6.5” strip
Sew another 6.5” strip along the next edge.
Press the seam before moving on.
6. Add the first 8.5” strip
Sew an 8.5” strip along the bottom edge.
Press the strip away from the centre.

7. Add the second 8.5” strip
Add your second 8.5” strip to the next edge.
Sew and press.

8. Add the first 10.5” strip
Place a 10.5” strip along the top of the block.
Sew with a ¼” seam allowance and press.
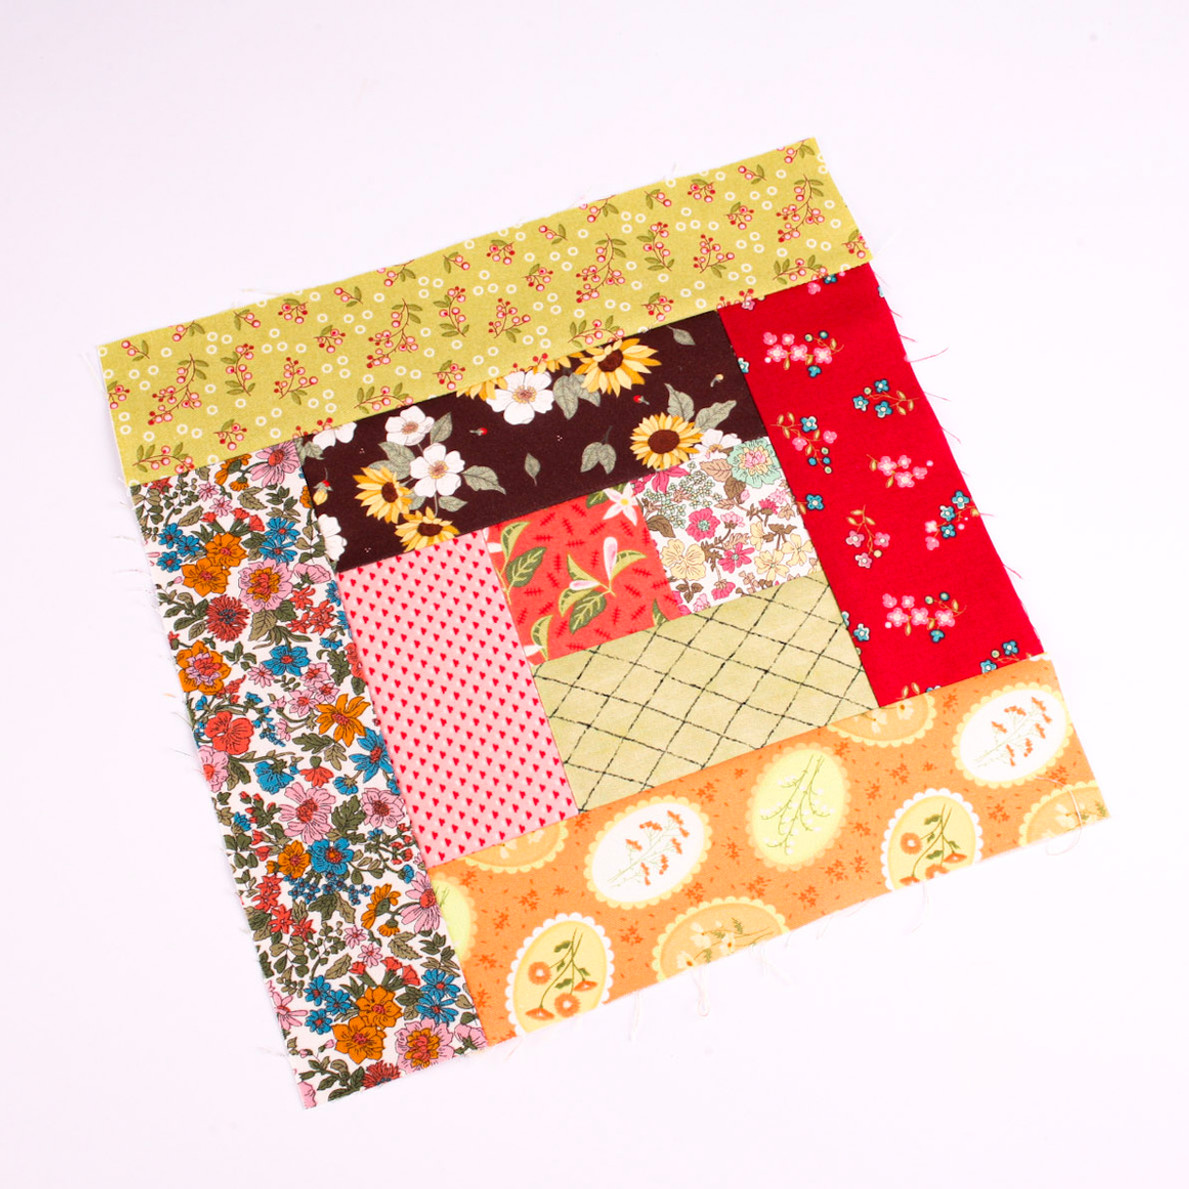
9. Add the second 10.5” strip
Add the second 10.5” strip to the side.
Sew and press.

10. Add the first 12.5” strip
Sew a 12.5” strip along the bottom.
Press the strip away from the centre.

11. Add the second 12.5” strip
Sew the second 12.5” strip along the next edge.
Press well.

12. Add the 14.5” strip
For the final step, sew your 14.5” strip along the remaining edge.
Press the block well and give it a final check with your quilting ruler.

Your log cabin block should now measure 14.5” square.
And that’s it!
Once you get into the rhythm, this is such a satisfying block to sew. The measurements simply grow by 2” each round, so it’s also an easy one to remember once you’ve made a few.
Try making several blocks and rotating them in different directions before joining them together. The same simple block can create completely different quilt layouts depending on how you arrange them.
It’s also a great one for using up leftover jelly roll strips, scrap fabric and those random 2.5” strips that seem to collect in every sewing room.
Turn the Blocks Into a Quilt
Here’s a little mock-up to show how the blocks could look made into a full quilt top.
I’ve used two different colour arrangements and rotated the blocks in different directions to create more movement across the quilt.
Using 16 blocks in total, arranged in a 4 x 4 layout, the finished quilt top would measure approximately 56.5” square.

If you make your own log cabin quilt blocks, I’d love to see them! Send me a photo or tag me on Instagram @whatkimberleymakes so I can have a look.
For more patchwork ideas, quilt blocks and easy sewing tutorials, follow along on Instagram and have a browse through the tutorials below for your next project.
Find your next project


If you’re looking for your next project, you can find more of my quilt patterns and sewing patterns in the shop. I’ve got everything from simple patchwork projects to larger quilts, with step-by-step instructions to help you turn all that quilt block practice into something finished. Browse the sewing patterns here →
Happy sewing! Kym


Comments